Wedding Photo Restoration Checklist: 7 Steps Before You Frame
Why Wedding Photos Need More Than Generic Restoration
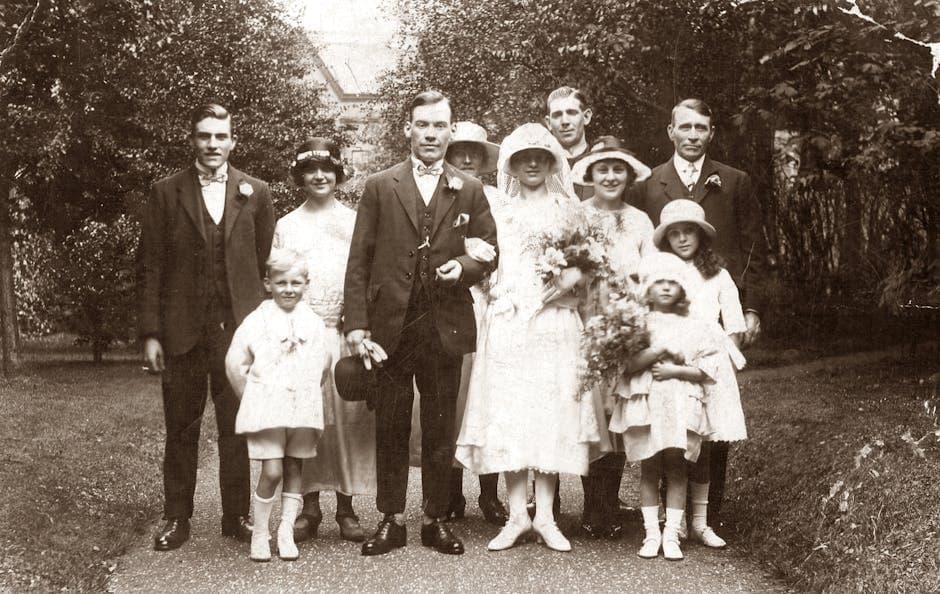
Wedding photos from the 1960s through the 1990s share three predictable degradation patterns: cyan or magenta color shift from acid in the photo paper, brown spotting (called foxing) from humidity, and fading concentrated on faces because the original photographer used soft fill light. Generic AI restoration handles each of these badly when run as a one-pass.
The fix is to run them in order: color cast first, then spots, then face detail, then sharpen, then crop, then upscale, then print prep. Skip a step and the next one amplifies the problem.
This checklist is what we use internally before delivering restorations for memorial wedding-anniversary prints.
Step 1: Scan at the Right Resolution
Before any digital work, the scan determines the ceiling. Rules of thumb:
- For prints up to 8x10: 600 DPI scan
- For prints up to 16x20: 1200 DPI scan
- For 4-foot wall portraits: 2400 DPI scan, or use AI upscaling after restoration
A flatbed scanner is fine. Phone photos through glass introduce reflections and uneven lighting that no algorithm can fix cleanly.
Step 2: Color Cast Removal
Most aged wedding photos lean magenta (cyan dye fades first) or cyan (Kodachrome variants). Eyeballing is unreliable. Use a known white reference in the frame (a bride's veil, the groom's shirt, a tablecloth) and neutralize from there.
Our colorize tool handles severe casts but is overkill for mild shifts. For mild casts, white-point correction in any photo editor works. Save as TIFF, not JPG, between steps to avoid compression artifacts compounding.
Step 3: Spot and Scratch Removal
Foxing spots, scratches from album sleeves, and dust have a specific signature. They're usually circular or linear with sharp edges, which AI inpainting handles cleanly when given a small selection.
Don't run AI inpainting on the whole photo. It will smooth over genuine detail (jewelry sparkle, lace pattern, fabric texture). Manually mask the damage areas and inpaint only those.
Step 4: Face Restoration
Faces are where viewers look first. Even a perfectly restored background looks bad if the bride's eyes are mush. Our face restoration tool handles this, but two cautions:
- Run face restoration AFTER color cast and spot removal, not before. Otherwise the AI tries to "correct" the color shift and produces unnatural skin tone.
- For group photos, run face restoration on each face individually if the tool offers it. Per-face is cleaner than full-frame.
Step 5: Sharpening (Last, Not First)
Sharpening is always the last destructive edit before output. Do it after color, spots, and face restoration, never before.
For wedding photos specifically:
- Sharpen radius: 0.5 to 1.5 pixels for portraits
- Sharpen amount: 50-100% for normal viewing distance, 30-50% for close inspection prints
- Use luminance-only sharpening (in LAB color space if available) to avoid color noise amplification
Step 6: Crop and Aspect
Wedding photos from the era predate digital aspects. Common originals:
- 3.5 x 5 inches (1:1.43)
- 5 x 7 inches (1:1.4)
- 8 x 10 inches (1:1.25)
Modern frames sell in those exact sizes plus 11x14, 16x20, A4, and A3. If the framer wants 11x14 (1:1.27), you may need to crop in or pad with a mat. Don't stretch to fit.
Step 7: Final Upscale and Print Prep
For prints larger than the scan resolution allows, run AI upscaling LAST after all other restoration. Upscaling early amplifies any remaining defects.
Save the master at full resolution as TIFF. Export print copies as JPG at 90% quality and 300 DPI for the print size you ordered. Keep the TIFF master in case you need to print again at a different size.
Quick-Reference Order
| Order | Step | Tool |
|---|---|---|
| 1 | Scan | Flatbed scanner at 600-1200 DPI |
| 2 | Color cast | Photo editor white-point or colorize |
| 3 | Spot/scratch | Selective AI inpainting |
| 4 | Face | Face restore |
| 5 | Sharpen | Last destructive edit |
| 6 | Crop | Match target frame aspect |
| 7 | Upscale + export | Image upscaler for large prints |
Frequently Asked Questions
How much does professional wedding photo restoration cost in 2026?
Service shops charge $30-100 per photo for moderate damage, $150-400 for heavy damage. AI tools have dropped DIY costs to a few dollars per photo and the gap in quality has narrowed dramatically since 2023.
Can I restore from a phone photo of a print?
Yes, but the result is constrained by the source. Phone photos through glass have reflections, uneven exposure, and color cast from your room lighting. A flat scan beats every phone photo. If you must use phone, use a polarizing filter (or a polarizer phone case) and shoot in even shade.
What about colorizing a black-and-white wedding photo?
That's a separate workflow. See How AI Colorizes Black-and-White Photos for the technical breakdown. Short version: colorization is harder than restoration and the AI guesses at colors it can't know (the bride's bouquet, the groom's tie). Verify with the family before printing.
How do I preserve the restoration for the next generation?
Save TIFF masters at full resolution to a cloud archive AND a local backup. Files lasts forever; physical prints fade in 50-100 years even when stored well. The TIFF is the heirloom.
Do I need to ask the family before restoring?
Yes for family heirlooms. Some relatives prefer the original look (foxing and all) as a marker of the photo's age. Always keep the unrestored scan, then offer the restored version separately.
Related Reading
- Best AI Photo Restoration Tools Compared
- How to Colorize Black-and-White Photos
- Best Image Formats for Photo Preservation
Bottom Line
Order matters more than tools. Run color → spots → face → sharpen → crop → upscale, in that sequence, on a high-resolution scan. Use PhotoFlip's face restoration and colorize tools at the right stages, not as a one-pass. The result holds up at any print size.