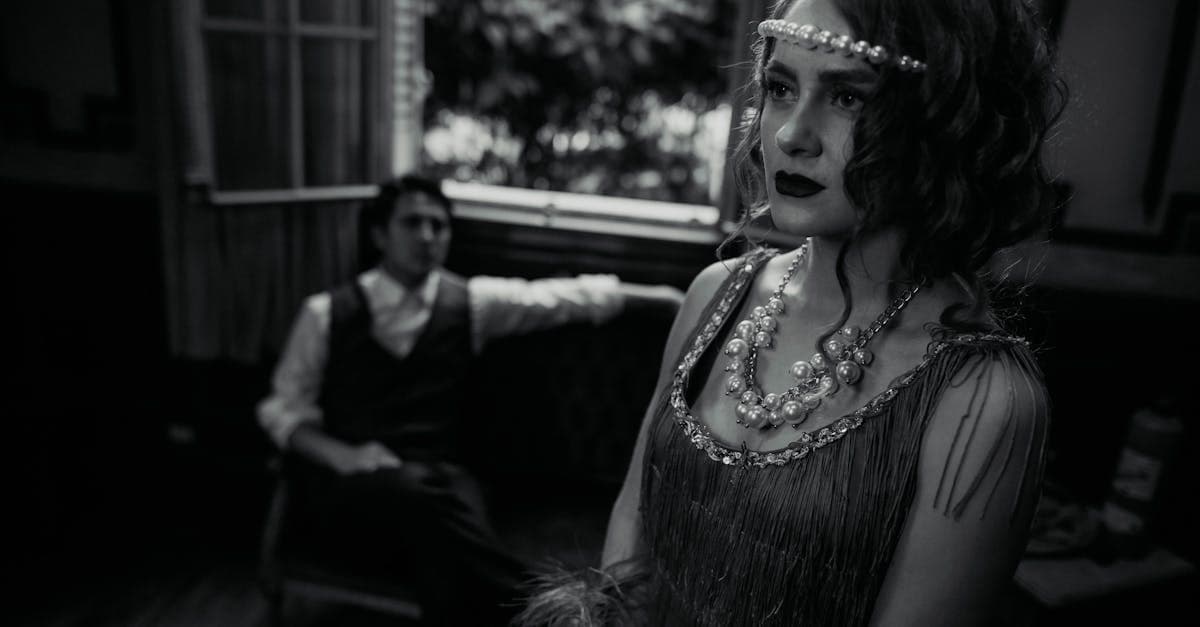
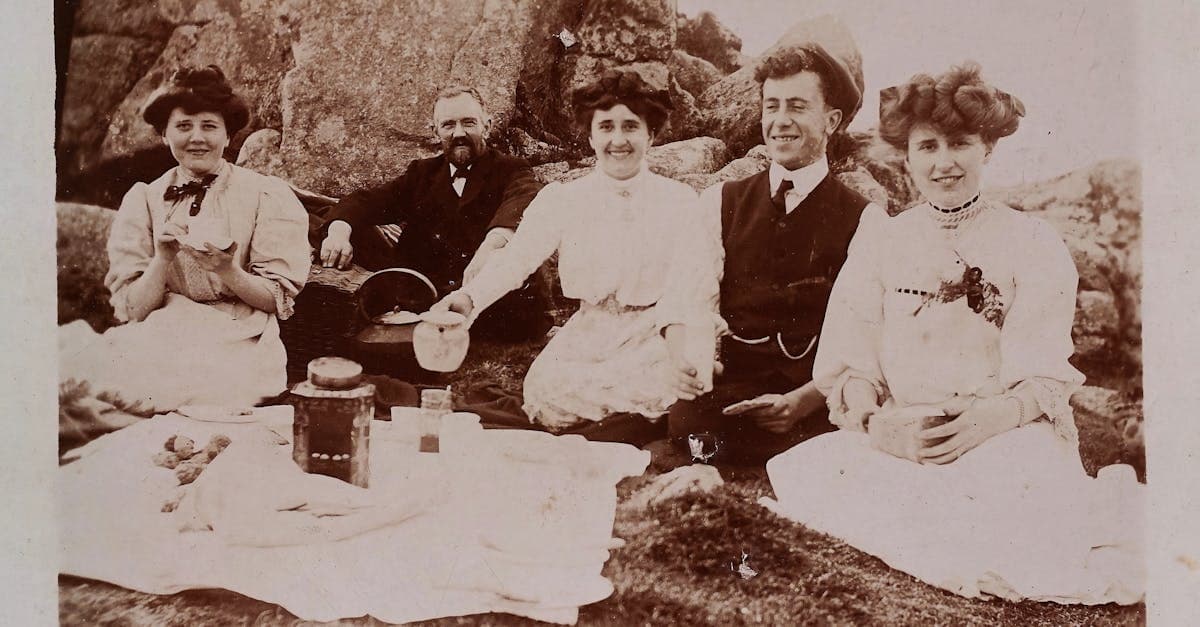
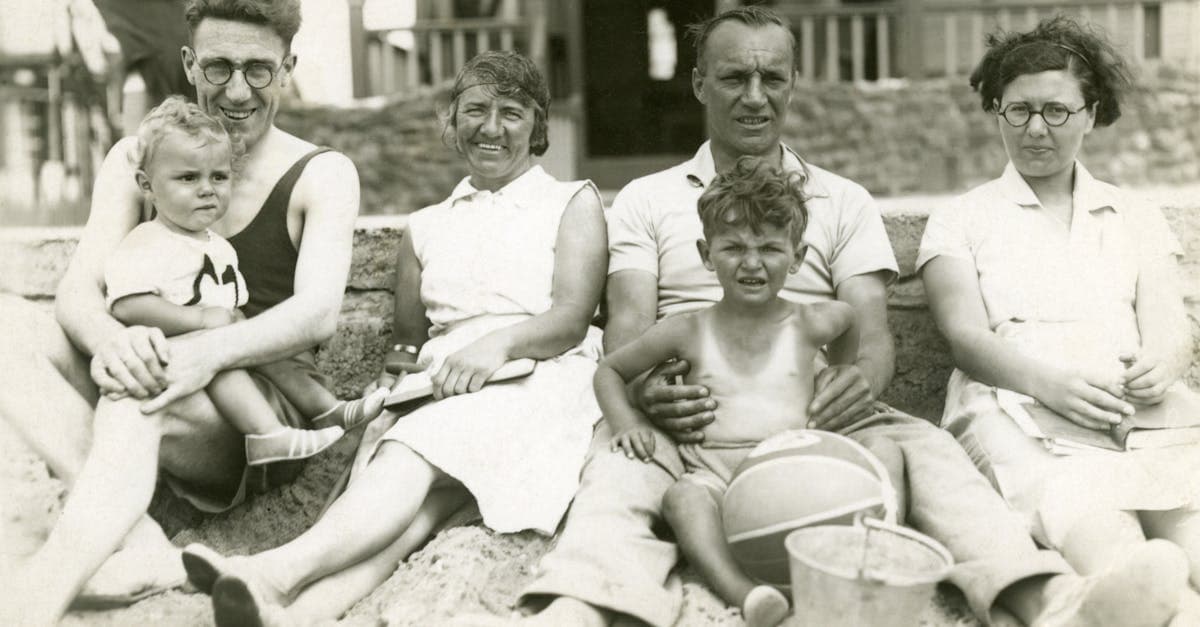
The 1920s is the decade that invented the snapshot as we understand it today. Flappers on beaches, family outings to amusement parks, backyard weddings, and the first generation of casual, unposed photographs fill surviving albums from this era. The formality of Edwardian portraiture gave way to something looser and more democratic — people smiled, moved, and photographed each other instead of traveling to studios.
That shift is emotional. A 1920s photograph of your great-grandmother is more likely to show her mid-laugh in a sundress than standing stiff in a parlor. It is the decade when family photography became a record of lived life rather than a record of formal occasions, and every surviving print is a small window into a moment that someone thought was worth keeping.
How photographs were made in the 1920s
By the 1920s, gelatin silver developing-out paper was fully mature and had almost completely displaced albumen. Kodak's Verichrome black-and-white film (introduced in 1931 as an update to earlier orthochromatic stocks) was preceded by a decade of improving orthochromatic and then panchromatic roll films that made handheld photography practical in ordinary light. The Kodak Brownie and Autographic Kodak cameras were in nearly every middle-class home, and drugstores offered inexpensive developing and printing.
Most 1920s snapshots are small contact prints made on fiber-based gelatin silver paper — resin-coated (RC) paper did not exist yet, which is why these prints curl so aggressively when they dry out. Studio portraits continued to be made on larger-format plates and printed on higher-quality fiber paper, often with deckle edges or decorative borders. Folding pocket cameras produced 6x9 cm negatives that yielded sharp, detailed prints still prized today.
What damage looks like on 1920s photos
The defining physical problem of a 1920s photograph is curl. Fiber-based gelatin silver paper contracts unevenly as the emulsion and paper base age at different rates, and a hundred-year-old print that was stored loose in an album will typically curl into a tube. Attempts to flatten it by force can crack the emulsion along the roll axis.
Chemically, 1920s prints show silver mirroring in the shadows — the same migration failure that affects 1900s prints — along with generalized yellowing and foxing. Because 1920s snapshots were often mounted into scrapbooks with rubber cement or animal glue, many also show brown staining where the adhesive has migrated through the paper. Prints that were pasted face-down into corners or albums frequently have emulsion loss where they stuck to the facing page.
What AI can restore on 1920s photos
PhotoFlip's restore model handles silvering, foxing, adhesive staining, and the overall tonal flattening of aged silver gelatin prints. It is particularly effective on 1920s snapshot photography because the AI has trained on large volumes of similar material — posed family groups, beach scenes, studio portraits with deckle edges. Crease marks from curling and flattening, scratches from rough album pages, and light emulsion loss can usually be filled in convincingly. Colorize adds Jazz Age-appropriate color: the muted pastels of 1920s fashion, wooden car bodies, striped beach awnings.
What AI cannot do: repair an emulsion that has cracked along a curl axis into separate strips, recover images where album adhesive has destroyed the image layer, or rebuild faces that were obscured when someone wrote on the print in ink.
Tips for scanning 1920s photos
Do not try to flatten a curled 1920s print before scanning — the emulsion may crack. Place the print on a flatbed scanner gently and either close the lid to its first stop (without pressing) or weight the edges lightly with clean paper. Scan at 600 DPI for standard snapshots, 1200 DPI for small contact prints. If a photo is stuck to an album page, leave it attached and scan the whole page — PhotoFlip can separate the image from the mount later. Never use water, alcohol, or any solvent to clean a 1920s print at home.
How to restore a 1920s photo with PhotoFlip
Frequently Asked Questions
Yes. Place it gently on the scanner without forcing it flat, and rest the cover on top without pressing. The AI can correct perspective distortion from the curl in the resulting scan. Forcing a brittle hundred-year-old print flat is the single most common way family photographs are destroyed.
Those are almost certainly adhesive migration stains from the rubber cement or animal glue used to mount the photo into a scrapbook. The stains are in the paper substrate rather than the image emulsion, so PhotoFlip can usually neutralize them during restoration without damaging the photograph itself.
The colorize model is trained on thousands of period-correct references, so it chooses color palettes consistent with 1920s fashion, materials, and lighting. For context-specific details — a known dress color, a family uniform — you can describe them in the prompt and the model will respect your notes where possible.
Most were contact-printed at negative size, meaning an 8.3x6 cm negative produced an 8.3x6 cm print. Enlarging was expensive and required a professional lab, so casual photographers got contact prints back from the drugstore. Scan at 1200 DPI so the AI has enough detail to enlarge without softness.
Sources
Restore photos from other decades
Ready to restore a photo from the 1920s?
1 free preview on signup. No card required — credits unlock the download.
Upload a photo